I love that furniture up-cycling is all the rage right now. I just recently became obsessed with yard sales, consignment shops and auctions. I cannot afford to spend $500 on a new coffee table, nor do I want to. For one, my taste changes so frequently. I would hate to invest so much money in one accessory, just to become tired of it next year. Plus, have you really looked at the furniture you are finding at some of your local home decor stores??? Many of them are factory made, poorly designed and NOT real wood. We’re talking MDF, particle board phonies here people! Don’t get me wrong, I have a number of faux wood pieces in my home. But if I were given the option of real wood vs faux wood, it’s a no brainer. It’s like cubic zirconia, at a quick glance they may look like real diamonds…but I want the real thing!
With an older piece of furniture, sure, it may have seen better days, but with a little creativity and TLC, you will have a unique piece that you will not find on page 5 of the latest Pottery Barn catalog….or worse, in your friends home.
One of my favorite places to find one of these diamonds in the ruff, is my own home (or better yet your parents). Take a second look at your grandfather’s old dresser, or that wooden nightstand you have had since college. Hey, it’s not like you are going to make it look worse.
When I bought my house, I found a small wooden table in the closet. The finish was worn and the wooden veneer was chipped and peeling. But overall, I loved the shape of the table and it was solid wood. Sorry, I forgot to take a before picture.
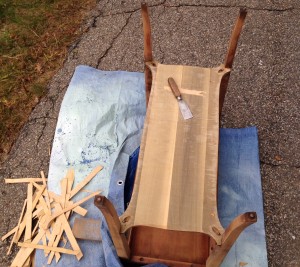
First I started by removing the damaged veneer with a putty knife.
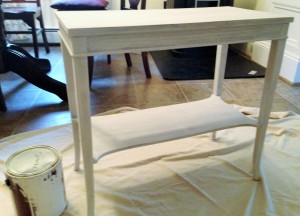
Then I lightly sanded the surface with a fine sandpaper block. I removed any dust and painted the table with a coat of primer. Use a primer people!!! Take the time and do the prep work. If you don’t, you will end up with chipped/peeling paint. I know from experience.
Then I painted the table white and let it dry before starting my stenciling.
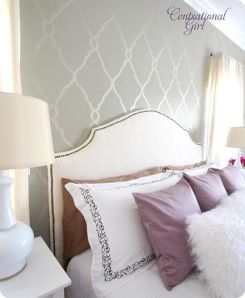
When some people think of stenciling, they automatically think of that ivy/floral border stencil that their grandmother had on her kitchen walls. Not anymore. Stenciling is a great, inexpensive way to personalize your home. You can stencils on curtains, floors, accent walls, home decor pieces, even with cake decorating!
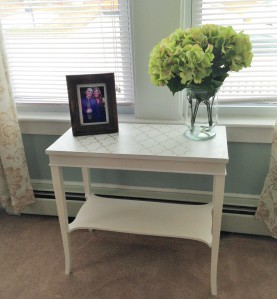
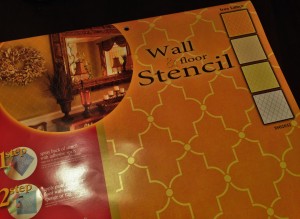
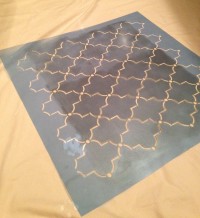
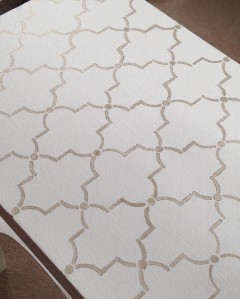
Hobby Lobby carries larger 20″ x 20″ Wall stencils for $16.99. I used their 40% off coupon, and purchased the Moroccan stencil for only $10.19.
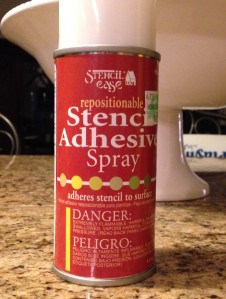
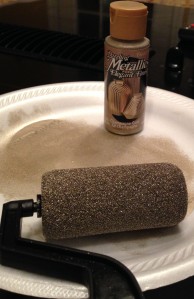
I prefer to use a stencil adhesive when stenciling flat surfaces. Just spray a light amount to the back of the stencil. This will prevent the stencil from shifting as well as prevent bleeding. One can was $5-6 at Hobby Lobby. You will also need either a stencil brush or foam roller, and paint. I prefer to use the foam roller. I find the paint has a smoother finish. For the paint, I used Deco Art’s Metallic Paint in Champagne Gold.
Position you stencil on your surface and start painting. My #1 tip, less paint is more! Have a paper towel or plate nearby so you can remove excess paint from your brush or roller. Too much paint will lead to bleeding.
Once your stencil design is dry, you can use a spray poly to protect the surface.
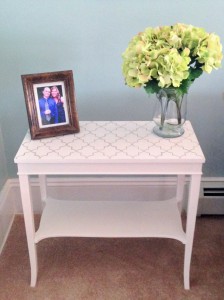
Below are a few pics of the table. I love the white and gold combo! The whole project cost less than $20 (Stencil $10, Roller $2, adhesive spray $6. The remaining supplies I already had on hand).
Hope you enjoyed this post. Thanks for stopping by!

